Terraform, developed by HashiCorp, is an open-source tool for managing infrastructure as code (IaC). With Terraform, you define your desired infrastructure state in configuration files and let the tool handle provisioning and updates.
A crucial aspect of Terraform is the use of state files. These files store the current state of managed infrastructure. They contain information about created resources, configurations, and relationships between them. It is like the holy grail when it comes to Terraform and you do not want to mess around with it because the state file is essential for tracking changes to the infrastructure’s state and ensuring that the actual infrastructure aligns with the desired configuration in your code project.
That sounds great and is also the reason why we all love Terraform so much.
Recently, I have faced the situation that we wanted to manage a manually created resource by Terraform.
At first, it doesn’t sound like a big challenge, does it?
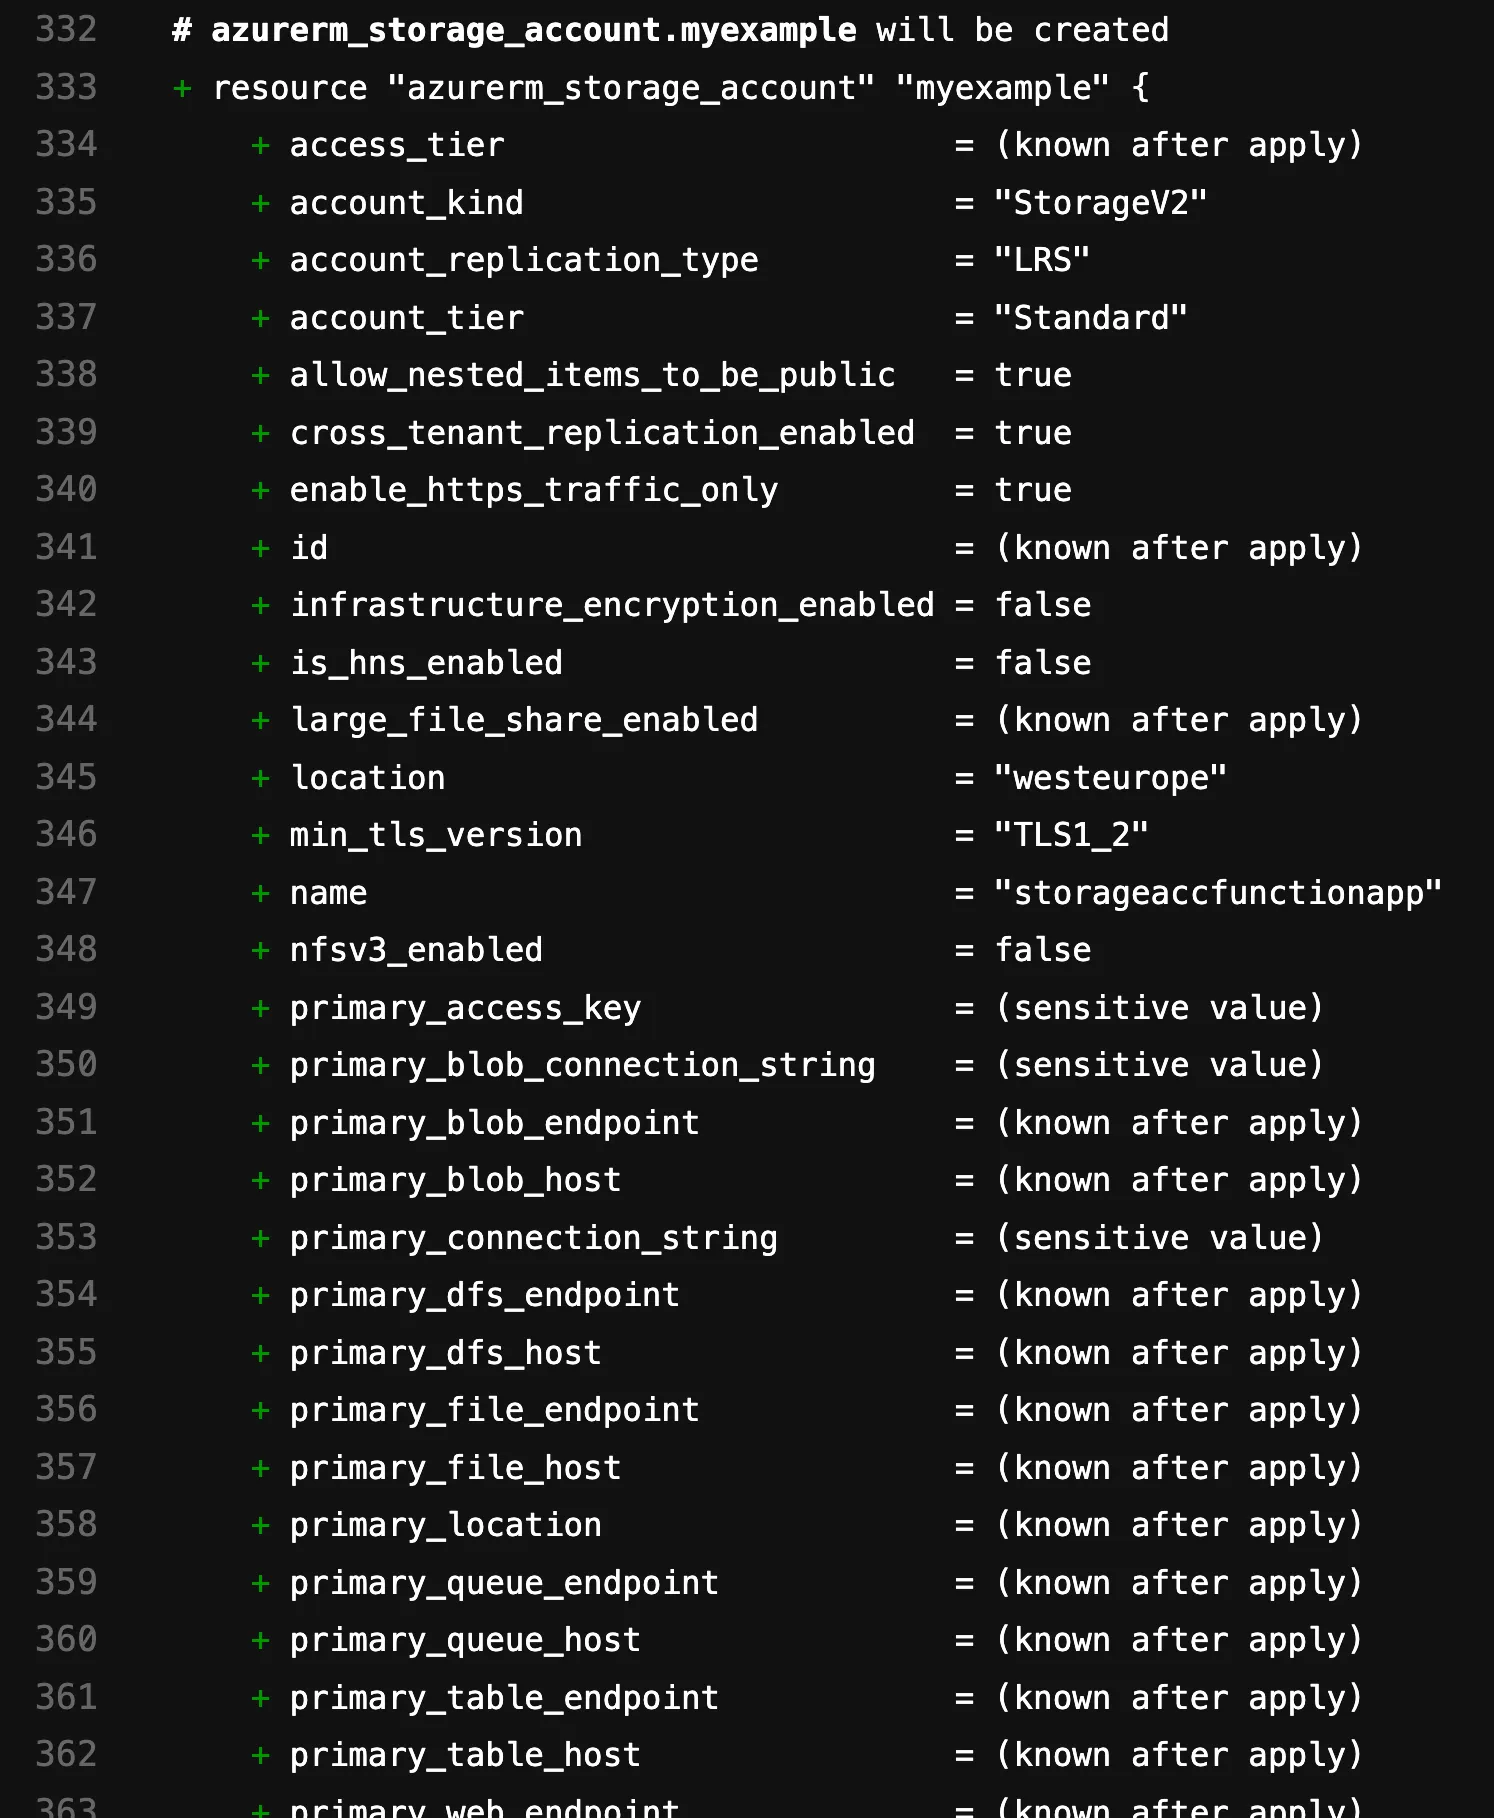
Let’s test it. Let’s say someone has created a simple Storage Account through the Azure Portal. Now, we will take the Azure Terraform Provider azurerm, and define a resource block in our Terraform project that defines a Storage Account with an identical specification..
resource "azurerm_storage_account" "myexample" {
  name                     = "storageaccfunctionapp"
  resource_group_name      = "rg-euw-xxxxx"
  location                 = westeurope
  account_tier             = "Standard"
  account_replication_type = "LRS"
}
So far so good. Now let’s see what happens when we execute this.

Firstly, it might seem strange, as we already have one in the Azure environment. Let’s see how Terraform handles it when we actually want to deploy this. So, execute a terraform apply:

Oh sh*t, I guess we have a problem here. As the error message clearly indicates, Terraform wants to create a Storage Account that already exists. Terraform wants to recreate the Storage Account because during the planning phase, it looks into the state file and compares it with the code. In doing so, Terraform realizes that the Storage Account is missing, so it naturally wants to create it. The issue is that this resource already exists.
Therefore, it would be wonderful if we could manipulate the state in such a way that Terraform doesn’t attempt to recreate the Storage Account at all. Instead, it would only deploy changes if we modify the resource block in the code.
Terraform wouldn’t be so cool if it didn’t have a solution for that as well. With the following command:
terraform import ADDRESS IDit is possible for us to manipulate the state, meaning the .tfstate file, without performing a deployment? Essentially, we are importing the existing Storage Account into the state so that, during the next plan generation, Terraform won’t attempt to recreate the Storage Account since it will already be present in the state. With the provided command, Terraform takes care of most of the background work to restore harmony, but we also need to contribute a bit. We need to fill in the command with the correct ADDRESS and the correct ID. But how do we discover these values and what exactly are they?
ADDRESS is the path to your resource block in the Terraform code. The resource type and the resource name are always present in the path. In our example, the ADDRESS would be:
azurerm_storage_account.myexampleSince, in larger projects, code is typically structured into modules and multiple resources are generated in a for_each loop, the ADDRESS would look like this:
module.module_name.ressource_type.ressource_name[ressource_key]However, more about that below.
ID: depends on the resource we configure and the provider ultimately deploying it. It’s essentially the identifier or path the cloud provider uses to locate the actual resource in the real target environment.
How do we find the ID for our Storage Account now? For those who have been paying attention, you already know the answer. In the error message, the provider kindly provided us with the ID:

However, there are other ways to discover the ID. One is to go to your cloud provider and open your resource. There might be and ID in an overview section. That is the exact ID what we are using here. Alternatively, in this scenario, an identical Storage Account could be provisioned through Terraform with a different name or in another resource group. This would allow us to learn the syntax of the ID.
During the deployment using terraform apply, we can see the ID that a Storage Account possesses, as providers typically return this information:

For our Storage Account, we can adjust the ID accordingly.
To sum it all up, the following command emerges, which we need to execute in order to manipulate the state in such a way that Terraform can manage the Storage Account:
terraform import azurerm_storage_account.myexample /subscriptions/<subscription-id>/resourceGroups/<ressource-grou-name>/providers/Microsoft.Storage/storageAccounts/storageaccfunctionappNow that we’ve understood the basic framework and how importing works, we can dive into the real action.
As mentioned above, one reason why Terraform resources need to be imported into the state is that someone else has manually created resources through the GUI that we now want to manage with a specific provider. However, this is not the only reason. In general, whenever a resource has been created through a method that does not align with the current Terraform setup, an import must be performed. This could be when resources were deployed using a different Infrastructure as Code (IaC) tool (such as Pulumi, Crossplane, etc.), but also when they were deployed using Terraform but with a different provider than the one we are using in the current setup. In such a migration scenario, it may be necessary to migrate 10, 100, or, as we experienced, almost 600 individual resources because we were migrating from one Terraform provider to another.
Large projects with several hundred resources per stage are typically structured and kept DRY (Don’t Repeat Yourself). This is achieved by deploying multiple similar resources within a for_each loop. Additionally, Terraform provides the functionality to modularize resources that are interconnected and always created together. That sounds great and in the following example, we’ll use it to demonstrate how to import resources from modules and for_each loops into the state.
In addition, in the example above, we executed commands like terraform plan or terraform import locally in the terminal.
This was possible because the Terraform state file was only used by us. In the mentioned larger projects, multiple developers collaborate on a single project,
and it’s essential to ensure that the state is accessible to all project team members, that external parties cannot access the state, and that everyone always has the latest state in the file.
This means that we cannot save the state file locally but somewhere where multiple users can access it. For example Consul or any cloud storage.
To achieve all of this from one place, deployment is bundled in a CI/CD pipeline, where a secure connection to the remote state file is established.
To summarize once again: we now want to import resources created within a for_each loop in a module directly into the Terraform state from a CI/CD pipeline. We are trying to be as close as possible to a real problem here.
For simplicity, let’s stick with Storage Accounts. In the Azure environment, there are two very similar Storage Accounts that differ only in name. In the Terraform project, which is properly rolled out via a CI/CD pipeline, we want to create a module that always creates two Storage Accounts together. That’s the requirement.
To eventually get the two import commands into the pipeline, we’ll create a shell script containing the two commands and execute it in the pipeline before terraform apply. Yes, for just two resources, a shell script might seem like overkill, but imagine you have around 600 resources to import, as mentioned above. Then you need something to collect all those import commands. By the way, the 600 import statements were generated using a separate Python script, as the commands usually only differ slightly. Once you understand the syntax of ADDRESS and ID (as discussed above), you can write a separate script to generate them because in the end, each import command needs to be executed individually for each resource.
So, let’s take on the challenge.
Firstly, we’ll create a module named createStorageAccounts in the code project and set up our resource block inside it. We’ll enrich it with a for_each attribute:
resource "azurerm_storage_account" "fortheblog" {
  for_each                 = var.storage_name_map
  name                     = each.value
  resource_group_name      = "rg-euw-xxxxx"
  location                 = "westeurope"
  account_tier             = "Standard"
  account_replication_type = "LRS"
}
In our main.tf, we create a local variable with the Storage Account names and pass it to the module when calling it:
locals {
  staccmap = {
    "key_of_stacc01" = "blogarticlestoracc01"
    "key_of_stacc02" = "blogarticlestoracc02"
  }
}

module "createStorageAccounts"{
 source           = "../../../modules/terraform/createStorageAccounts"
 storage_name_map = local.staccmap
}
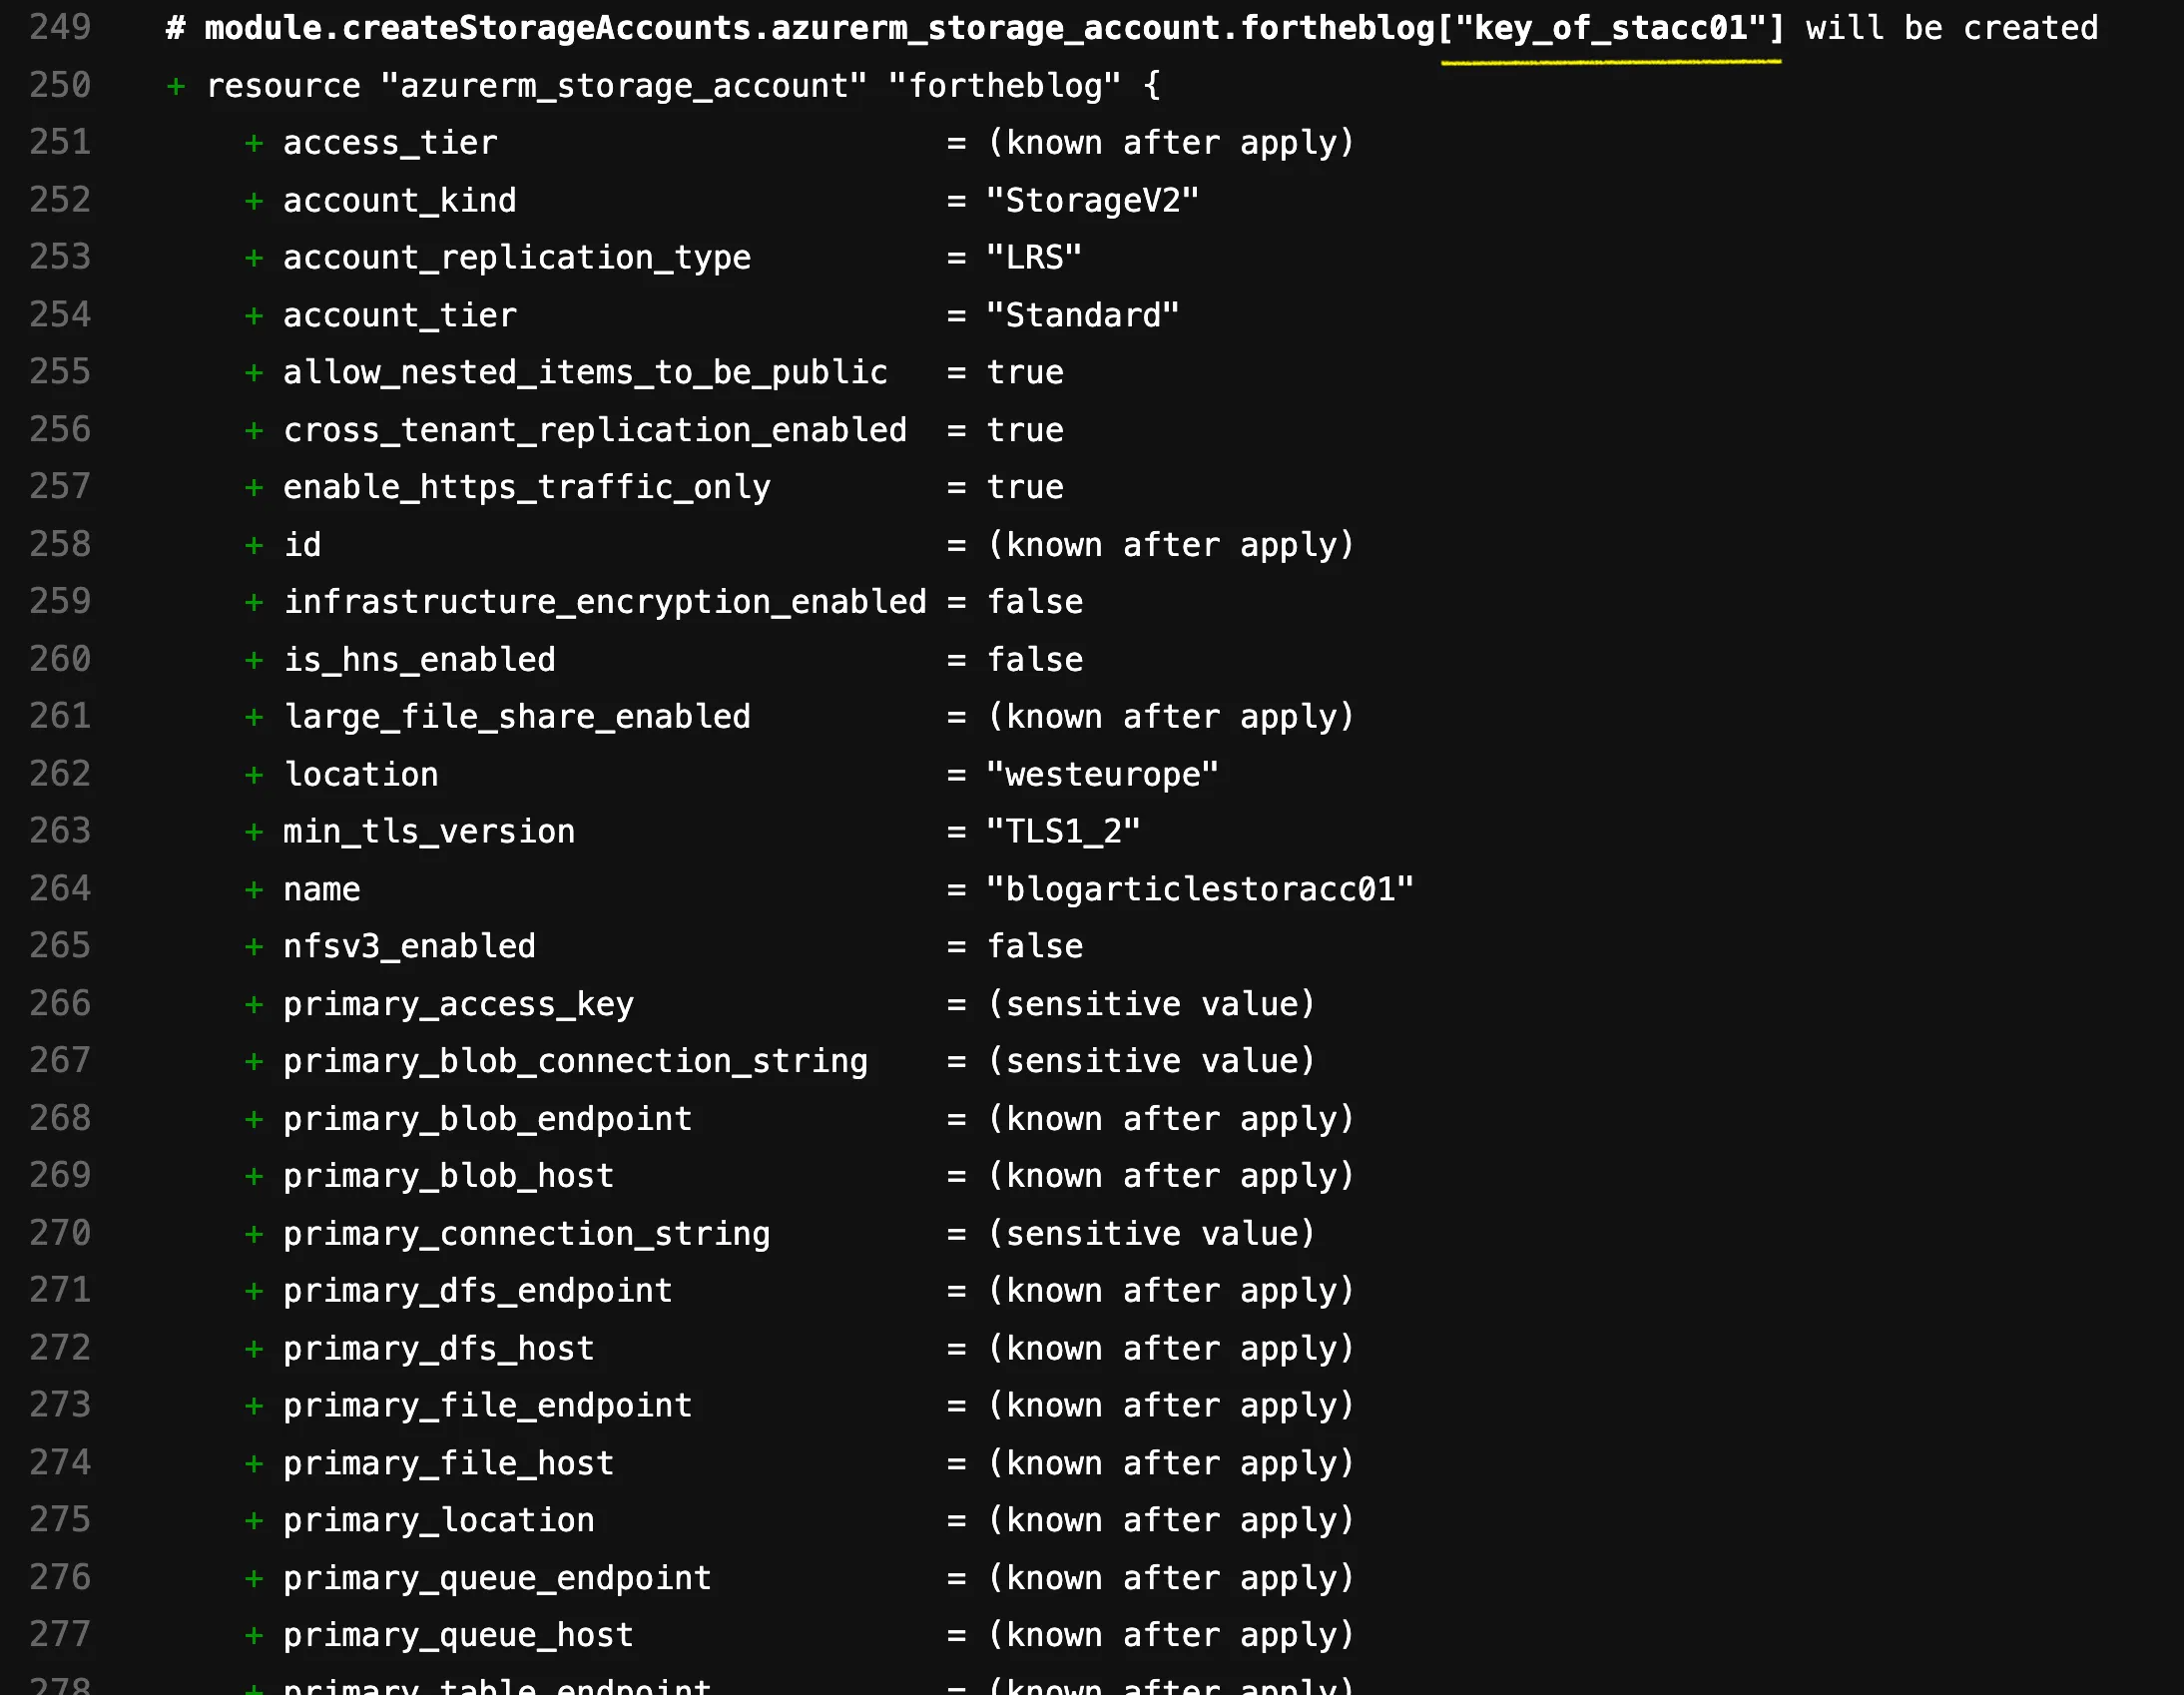
The for_each attribute leads Terraform, in this case, to iterate through the map staccmap, creating an instance of the resource for each key-value pair. It’s important to note that Terraform uses the key for distinguishing the resources within and appends it in square brackets to the ADDRESS. So in the end we are creating an array of instances of a resource, indexing it with the key.
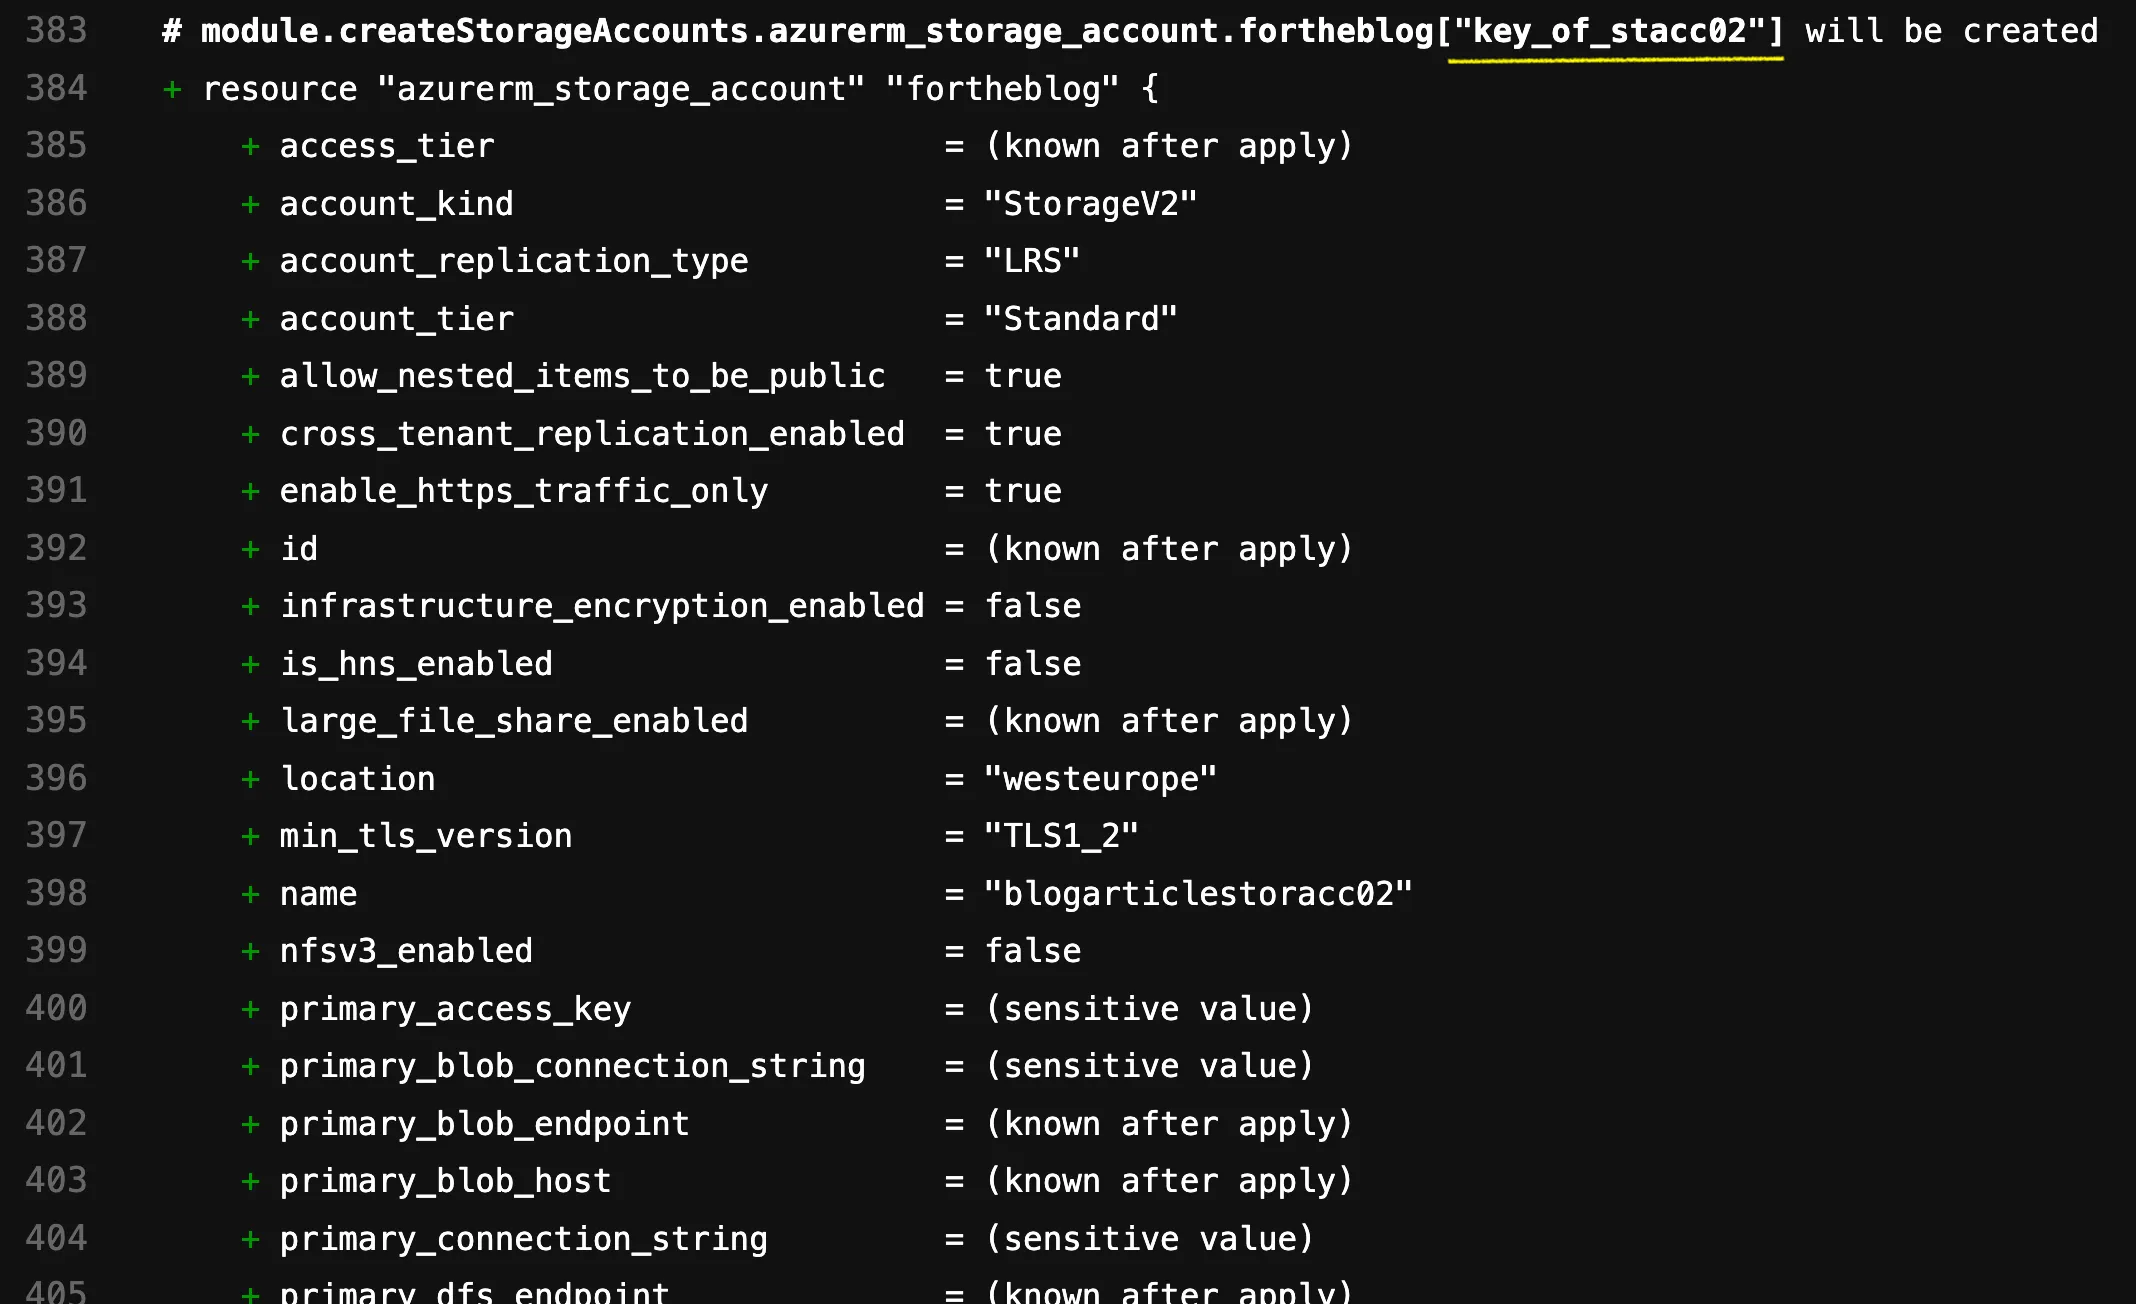
This becomes clearer when we execute a terraform plan without having migrated the state yet. Logically, it wants to create the two resources. The highlighted part in yellow is the interesting part, as it reveals the resource’s key:


Let’s now write the import statements for the shell script. We know the general syntax. We now also understand how the ADDRESS (including the key) is formed, and at the very beginning, we learned what the ID looks like for each resource. Based on this, our importstatements.sh would look like this:
#! /bin/bash


terraform import 'module.createStorageAccounts.azurerm_storage_account.fortheblog["key_of_stacc01"]' '/subscriptions/<subscription-id>/resourceGroups/<ressource-group-name>/providers/Microsoft.Storage/storageAccounts/blogarticlestoracc01'
terraform import 'module.createStorageAccounts.azurerm_storage_account.fortheblog["key_of_stacc02"]' '/subscriptions/<subscription-id>/resourceGroups/<ressource-grou-name>/providers/Microsoft.Storage/storageAccounts/blogarticlestoracc02'
You will need to fill in the <subscription-id> and <resource-group> in the ID with your actual data.
Now you can incorporate the importstatements.sh in your, for example, gitlab-ci.yml by using:
- chmod +x ./importstatements.sh; ./importstatements.shNow we’re ready to go. However, please make sure to create a backup of your current Terraform state before proceeding, just in case anything goes wrong.
And if we now rerun the pipeline, we will see the following:

Bravo! We’ve managed to import the two resources. And this is exactly how it would work for other and many more resources. Just remember to remove the invocation of the shell script from your pipeline when you are done. Otherwise, Terraform will complain next time that it can’t import the resources again since it already knows about them.
Happy importing, and we will see you in the next article!