Sometimes, authentication can be a real nightmare. In the Azure environment, you quickly come across terms like App registration, Service Principal, IAM, Secret, Certificate, or RBAC. For this reason, some people find it more intuitive initially to authenticate using their own user credentials, meaning with a username and password. It can also happen that Azure APIs, for example the new Fabric API, only offer username and password authentication for creating some resources.
In this article, we will explain how to obtain an Azure Access Token via OAuth2.0 by using a username and a password on Azure.
What we need:
Member in Azure with a passwordOAuth 2.0 is an open protocol for secure authorization that allows applications to access resources on behalf of a user without exposing their credentials. It uses access tokens to define and control access rights and supports various authorization flows to meet the specific needs of web, desktop, and mobile applications. OAuth 2.0 separates the roles of resource owner, client, authorization server, and resource server to create a flexible and secure authorization architecture.
Let’s start.
A client ID is essential to uniquely identify an application with the OAuth2 provider (in our case Entra) so that the provider can differentiate the application from others and apply the appropriate permissions. It ensures that requests are processed correctly and that the right access rights are granted. The question now is, how do we obtain a client ID when we want to authenticate with a username and password against the OAuth2 provider? As mentioned above, we need an app registration, which has a client ID.
So far, so good, let’s take a look at what such an HTTP request to the Azure OAuth2 provider looks like:
The request should include:
The user uses the app registration by sending their credentials (username and password) along with the client ID of the app registration to the OAuth2 provider (called URL above) to obtain an access token. This token contains the permissions assigned to the app registration under API permissions of type “Delegated” (which are then passed on to the user),

as well as those permissions that are directly assigned to the user. This grants the user access to specific APIs or resources.
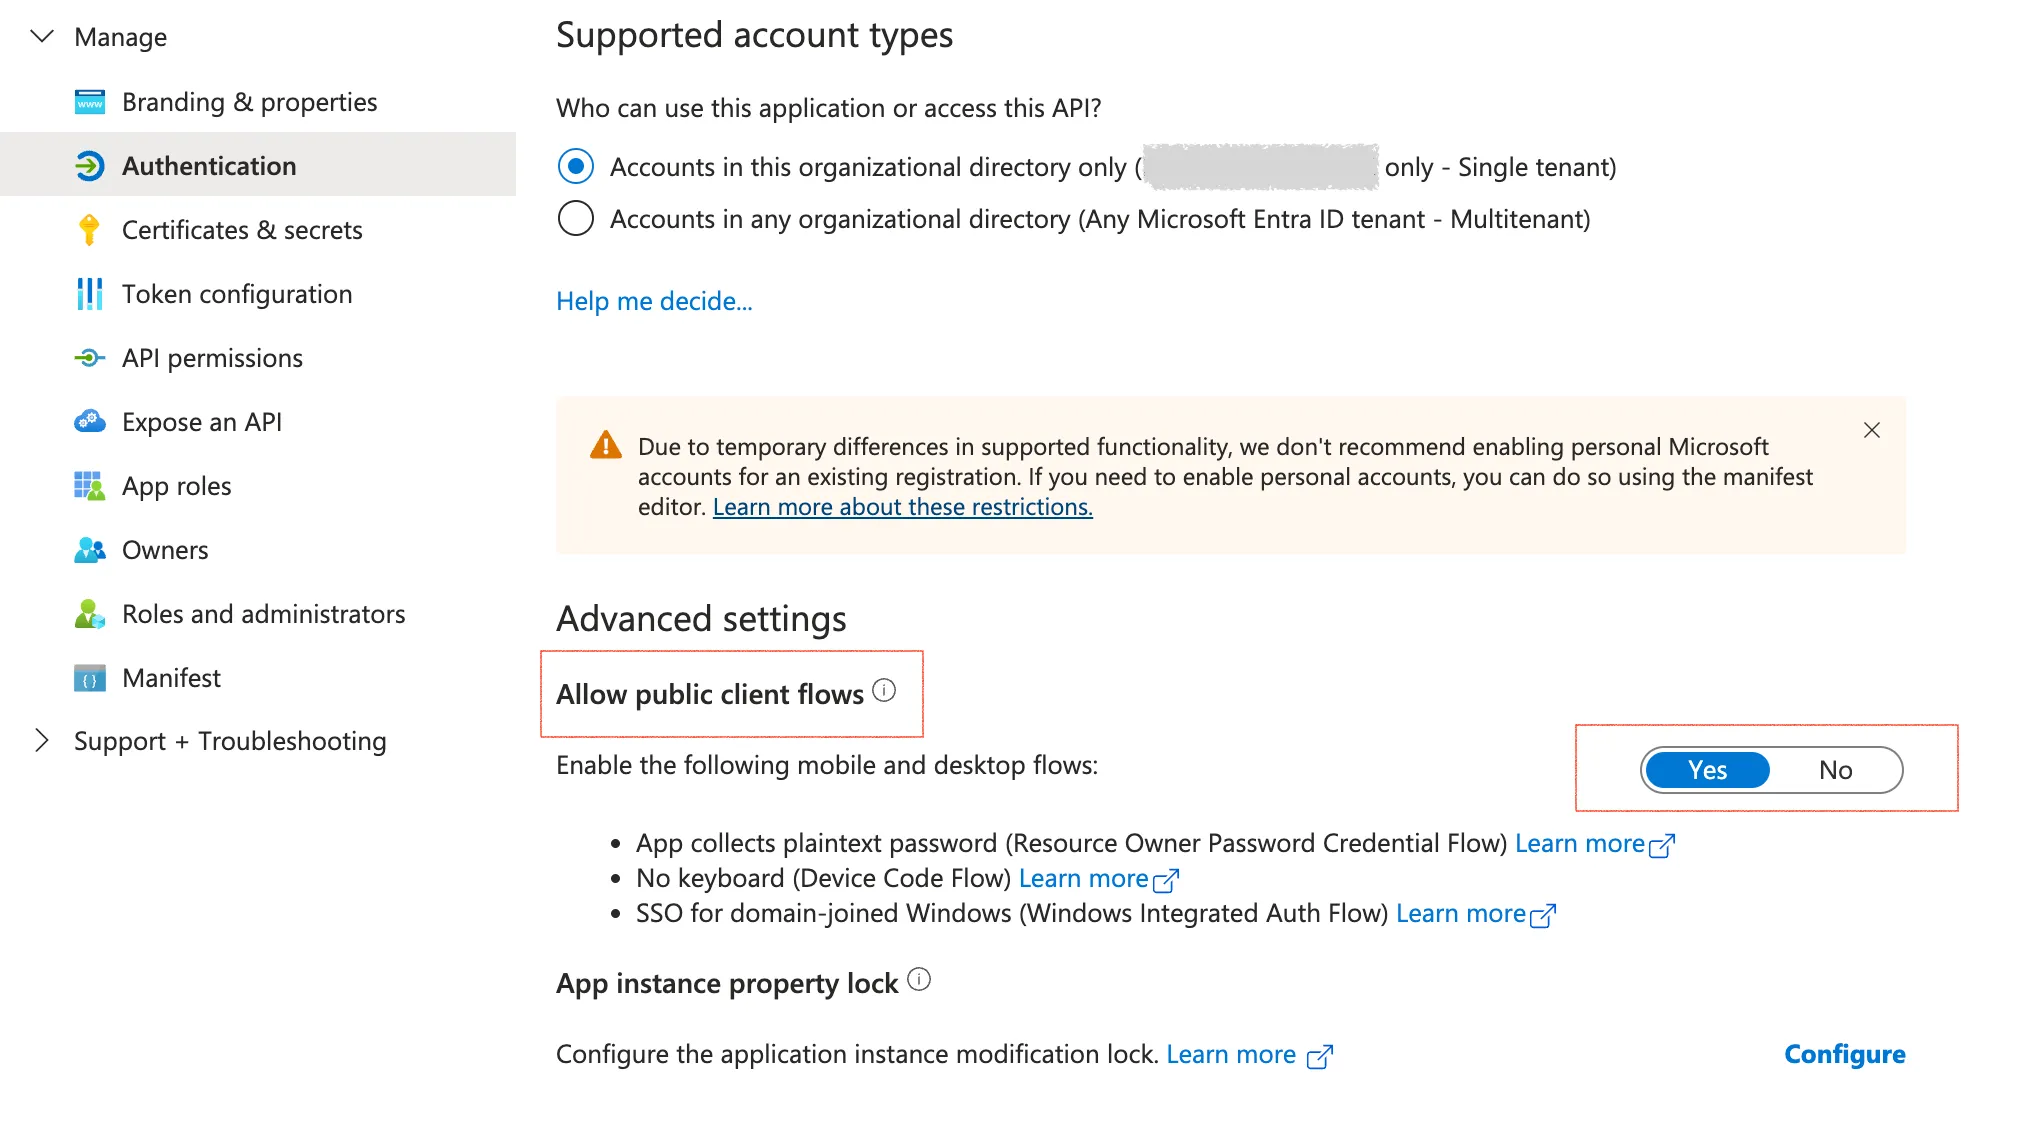
Under the Authentication section in the app registration, you specify which users are allowed to use the app registration in general.

So far, we have only used the client ID of the app registration without a client secret. This is because we have enabled the public client flow under Authentication for the app registration, thus not requiring a client secret.

If the public client flow is disabled, a client secret will be required.
Enjoy working with access tokens, and we will see you in the next blog article!